[Windows10] For “Mail” of the Windows Store app
[Windows10] for “mail” of the Windows Store app
Please tell me the initial setting of the process of the “e-mail” in the Windows Store app.
What is the initial process for setting up “e-mail” in the windows store app
I want to set up an e-mail account.
Applicable Products
Application software
e-mail (Windows Store app)
Target OS
Windows 10
Table of contents
Description
Method of operation
How to the initial configuration of the e-mail account
In the case of Microsoft account
Other POP, the case of the IMAP account
How to add a mail account
Various method of setting the mail
Description
The Windows Store Mail App, provided by Microsoft, is an application that can be used with Web mail accounts, such as Google’s Gmail. The systems will receive emails via either IMAP and POP protocols. If you are not sure of the type of protocol your e-mail address uses, please check with your e-mail provider.
【please note】
The Mail App is an application used for retrieving mail from your email server. As in conventional e-mail software, the email you see is not saved to your computer. You can view the email as temporary data for only a certain period of time, even if you are not connected to the Internet. However, you cannot see older e-mail unless you change your settings. The application is unable to migrate data from other kinds of e-mail software. To migrate data from other kinds of e-mail software or to save the e-mail data on your computer, please use the general e-mail software.
Method of operation
How to the initial configuration of the e-mail account
In the case of Microsoft account
If you are using an email address of “****@outlook.com” and “****@hotmail.com”, do the following procedure.
Screen that appears depends on the e-mail app version.
1. Click or tap the Start button.
2. While the start menu is displayed, select the [Mail] tile.

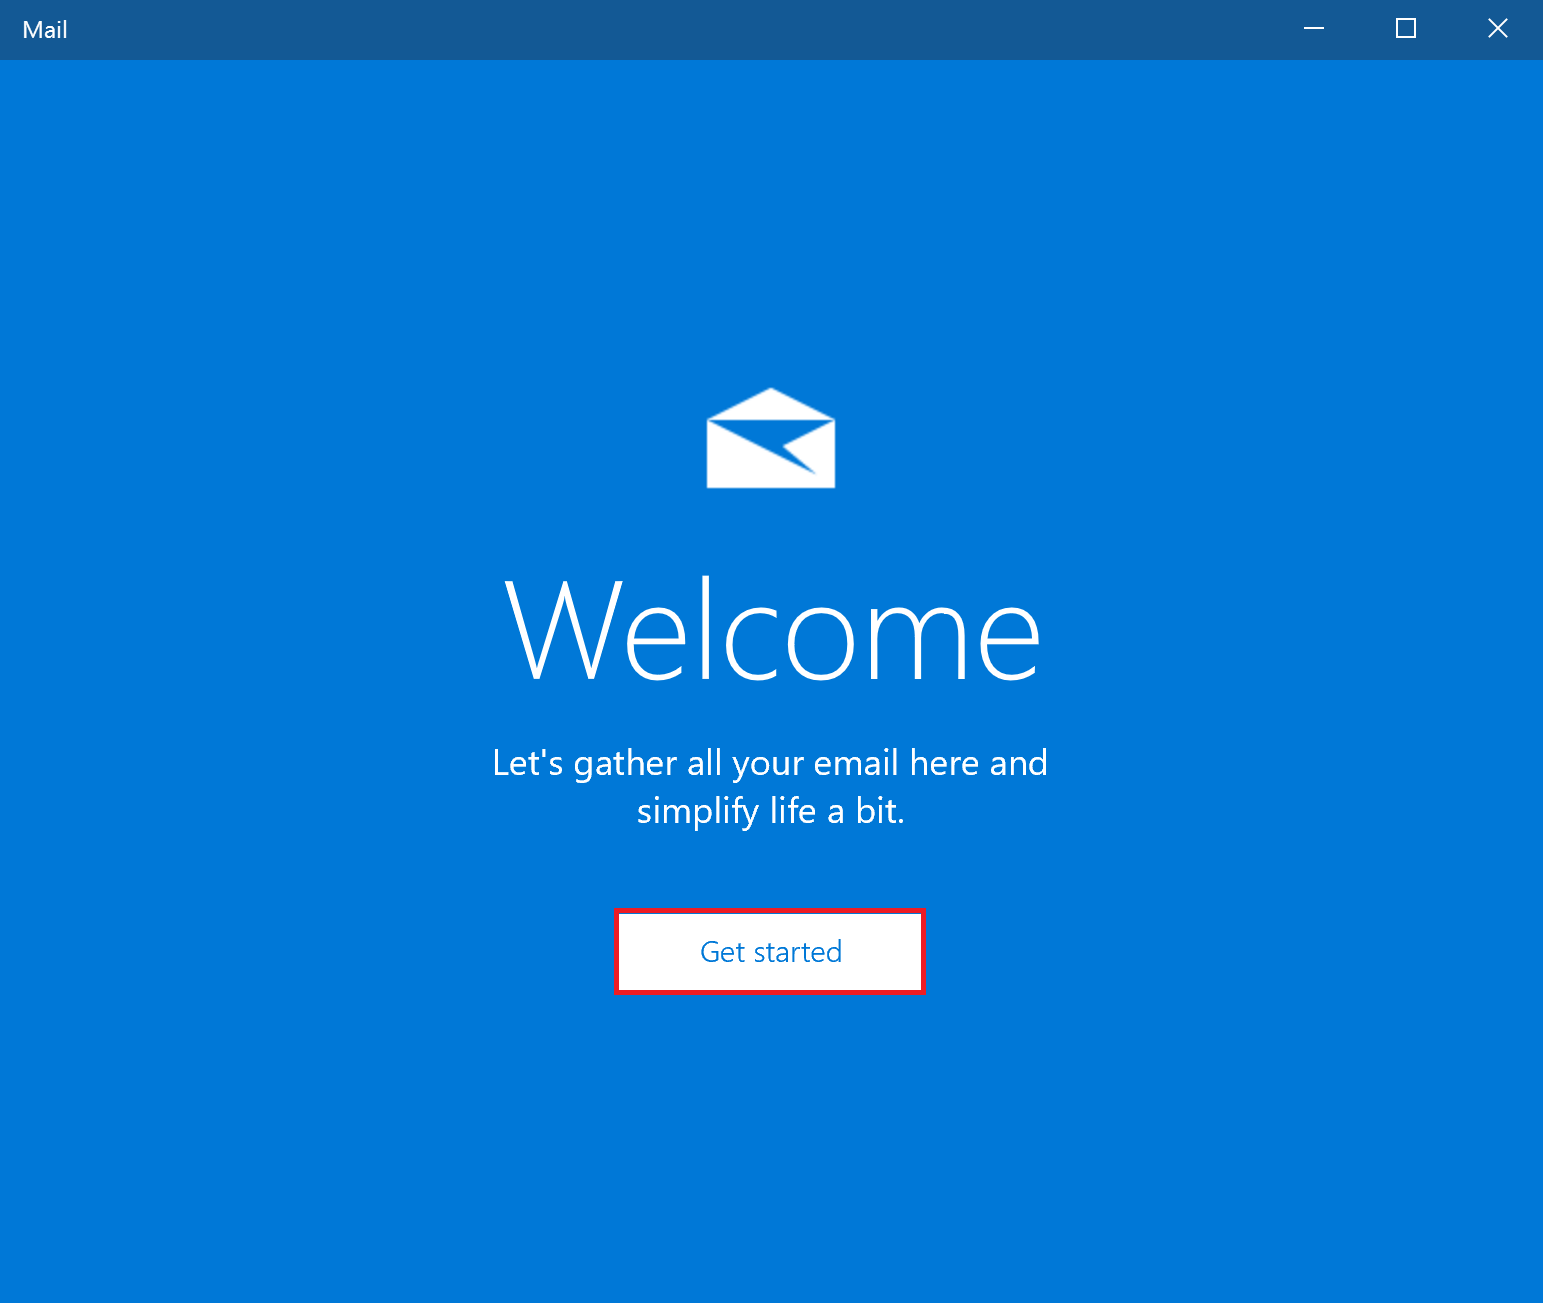
3. The welcome screen will appear, select [Get started] to begin the set-up.
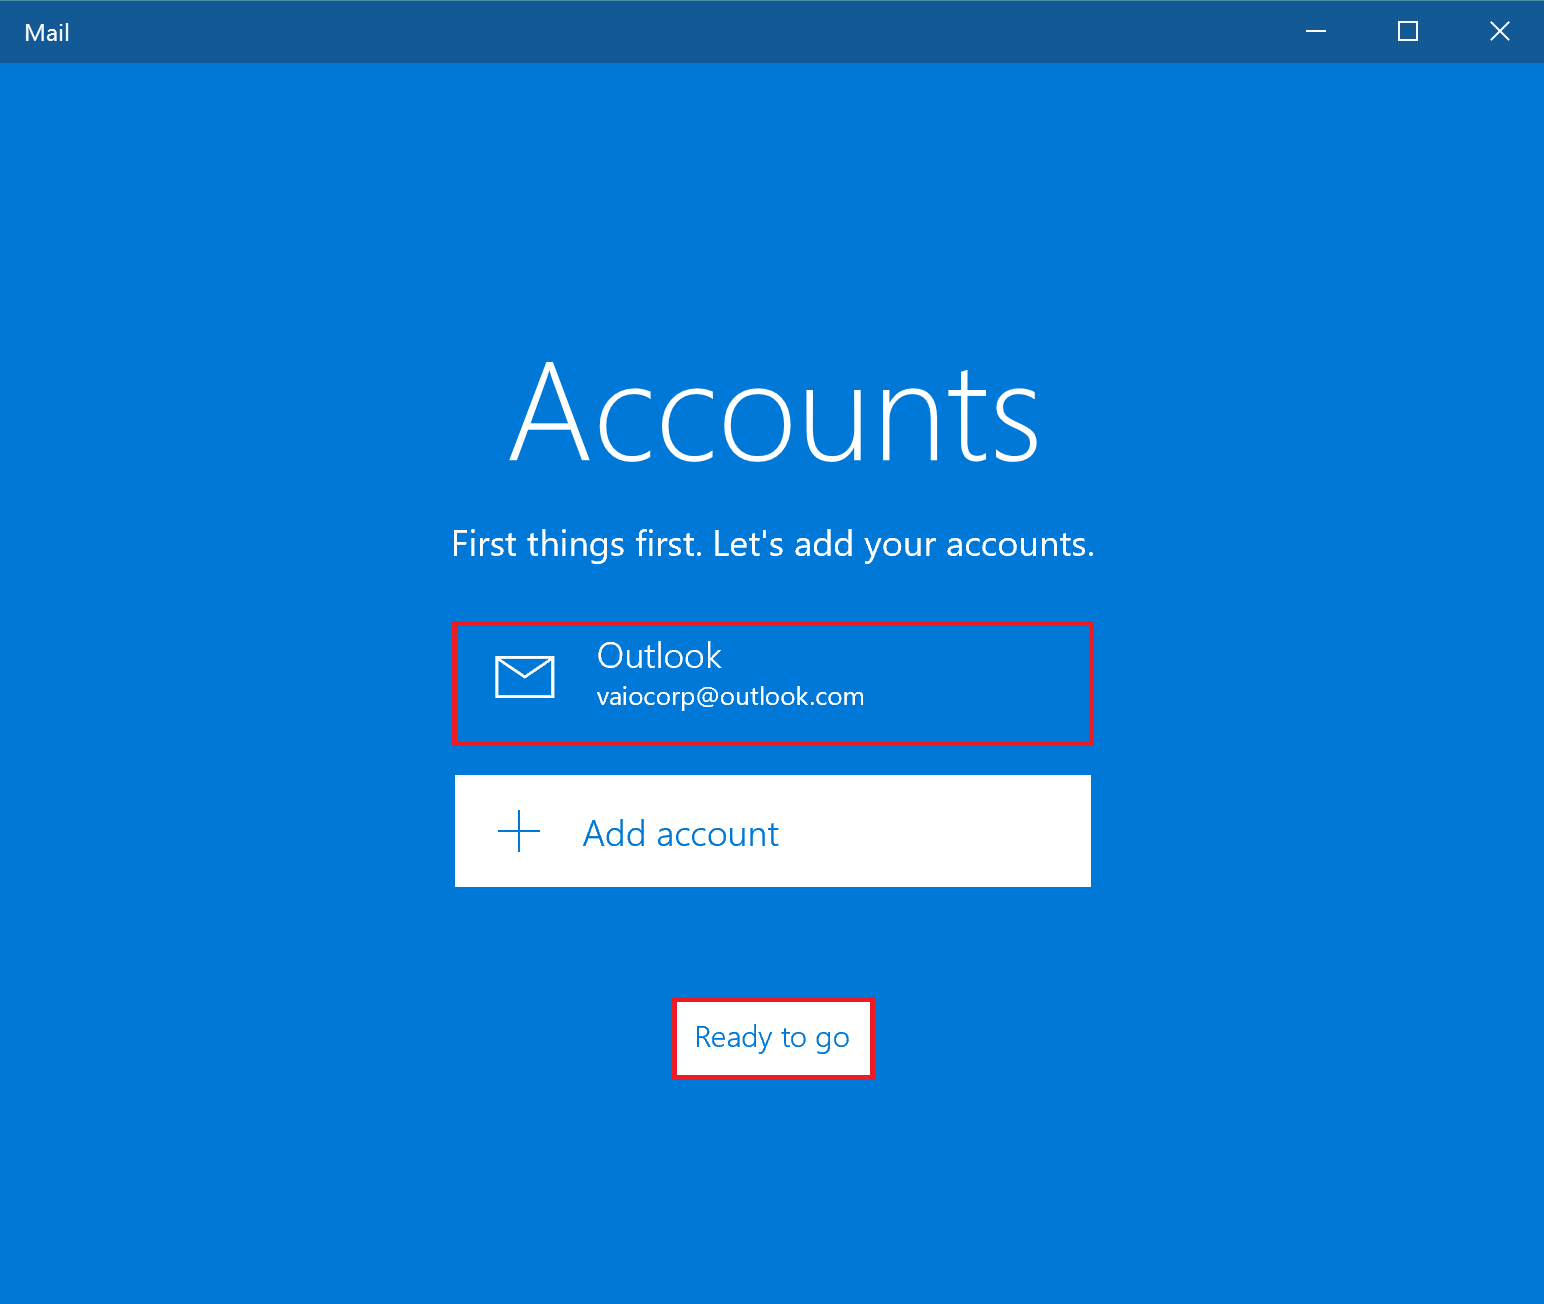
4. While the “Account” screen is displayed, choose the [+ Add account] button.

【Reference information】
If you are logged in Microsoft account on your PC, you may account name of “*****@outlook.com” is displayed on this screen.
In this case, complete set when you select Start, you will be able to immediately use the e-mail.
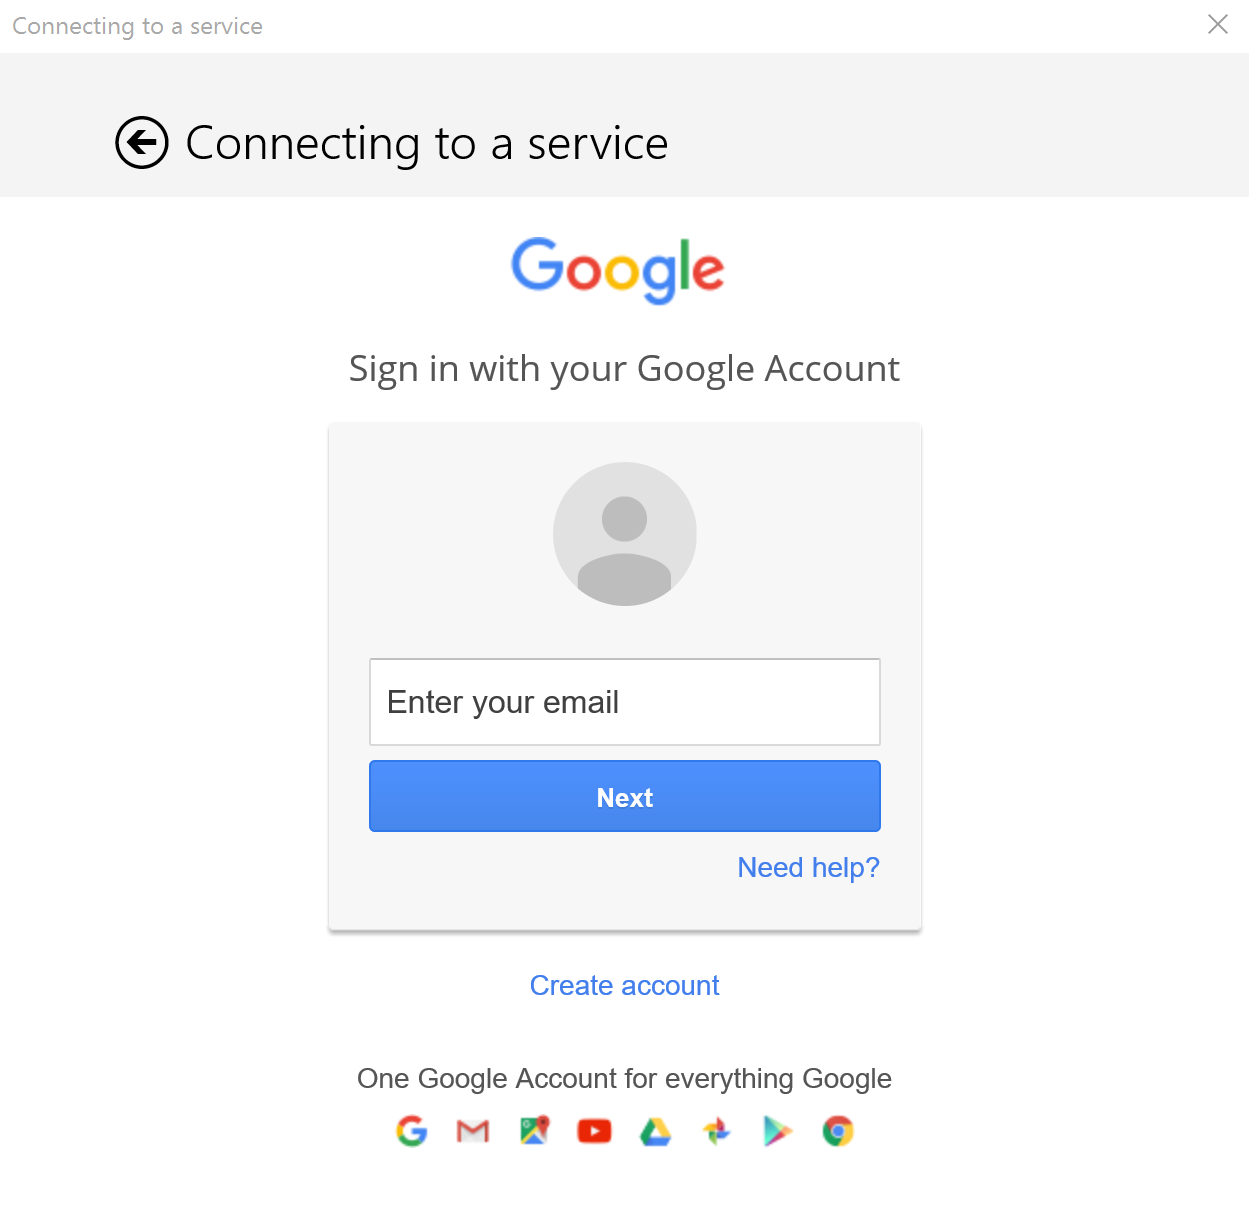
- While the “Select Account” screen is displayed, choose your mail provider.

【Reference information】
When you select the [Google] or [iCloud] on this screen, you can set Gmail and iCloud mail.
| Setup screen when you select the [Google] | Setup screen when you select the [iCloud] |
 |
 |
6. “Microsoft account” screen will be displayed, on this screen please enter the account email address and password, and then select [Sign In].

7. The inbox screen of the e-mail will appear, at this point your email will be ready to use.

This completes the operation above.
Other POP, the case of the IMAP account
In the case of other POP, IMAP account complete the following steps.
1. Click or tap the Start button.
2. While the start menu is displayed, select the [Mail] tile.
3. The welcome screen will appear, select [Get started] to begin the set-up.
4. While the “Account” screen is displayed, choose the [+ Add account] button.
5. While the “Select Account” screen is displayed, select Advanced Setup.

【Reference information】
You can also be set by selecting [other accounts], but depending on the provider you may not be able to send/receive email properly, please set these parameters using the information given by your email provider.
6. While the “Advanced Setup” screen is displayed, select Internet Mail.

7. Set these parameters based on the information of the account that is given from the email provider, and then select each after setting the following items [sign].

(Listed Above from top to Bottom)
Account name
and display name to manage the account in the e-mail software. You can be set freely.
Display Name
The name entered here will be the sender name of the message (sender name).
Incoming mail server
“****. pop. ****. ne.com” you set the address of the incoming mail server that is provided from a provider such as.
Account the type of
“POP”, choose one of the “IMAP”.
For more information, please review the information that is provided from the provider.
E-mail address
Enter the e-mail address that is provided from the provider.
User name
Enter the e-mail address or account name, are provided from the provider.
Password
Enter the password that is given from the provider.
Send (SMTP) mail server
“****. smtp. ****. ne.com” you set the address of the sending mail server that is provided from a provider such as.
“Outgoing server requires authentication”, “to use the same user’s password to send mail”, “Using SSL for incoming mail,” “use SSL to send e-mail”
for the check box of, based on the information of the provider Please set in.
8. After filling in the appropriate information, you will be prompted to sign in.
9. The main inbox of the e-mail will now be available, and at this point email should be ready to be used
This completes the operation above.
How to add a mail account
1. It will start the e-mail.
2. Select “Accounts”.

3. While the account menu is displayed on the right, select the [+ Add account] button.

4. Since the “Select Account” screen is displayed, other POP, step 5 in the case of the IMAP account Please refer to the. after the setting of the account as a reference.

This completes the operation above.
Various method of setting the mail
By selecting the [Gear] icon you have the option of changing any advanced settings.

【Reference information】
For details of the e-mail on how to set, please refer to Microsoft’s page of the following.
Mail application of Windows 10, the calendar app Help