[Windows 10] System repair disk and recovery drive
For [Windows 10] system repair disk and recovery drive
Table of contents
- Description
- Method of operation
- How to create a system repair disc
- How to create a recovery drive
- How to use the system repair disk and recovery drive
Description
System repair disk and recovery drive, the problem occurs on a computer, even if your computer can not start, useful to troubleshoot and resolve problems.
Emergency Repair Disk in the CD-R / DVD-R media, the recovery drive can be created in the USB flash memory.
Be created in either of the media, capacity required at the time of creation in almost the same, it will roughly be the capacity of the CD-R one sheet.
When you use the system repair disk and recovery drive, you can work, such as the following.
- Startup Repair
- System Restore
- Restoring the system image backup
- Command prompt (by the operation of the command input, it is possible advanced troubleshooting)
【please note】
For restoration of the system image backup, you can only operate on the backup system image that was created on Windows 10.
Windows 8.1, or backup of the system image that was created on Windows 7 will not be able to restore the system repair disk and recovery drive that was created on Windows 10.
Method of operation
- How to create a system repair disc
If you have a built-in disk drive or an external disk drive, you can create a system repair disc on CD / DVD media.
Through the following steps you will be able to create the media.
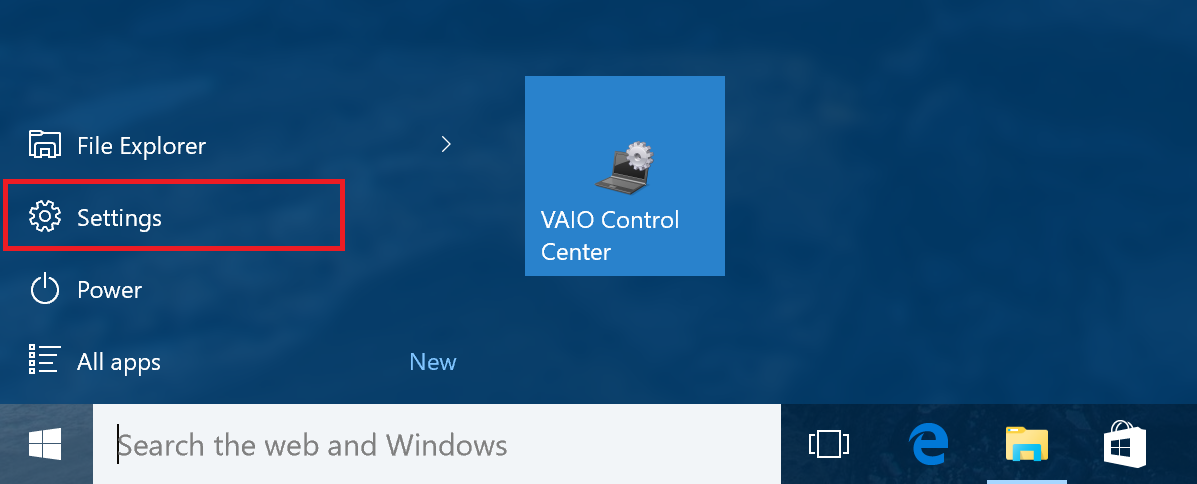
1. Choose the Start button.
2. While the start menu is displayed select Settings.
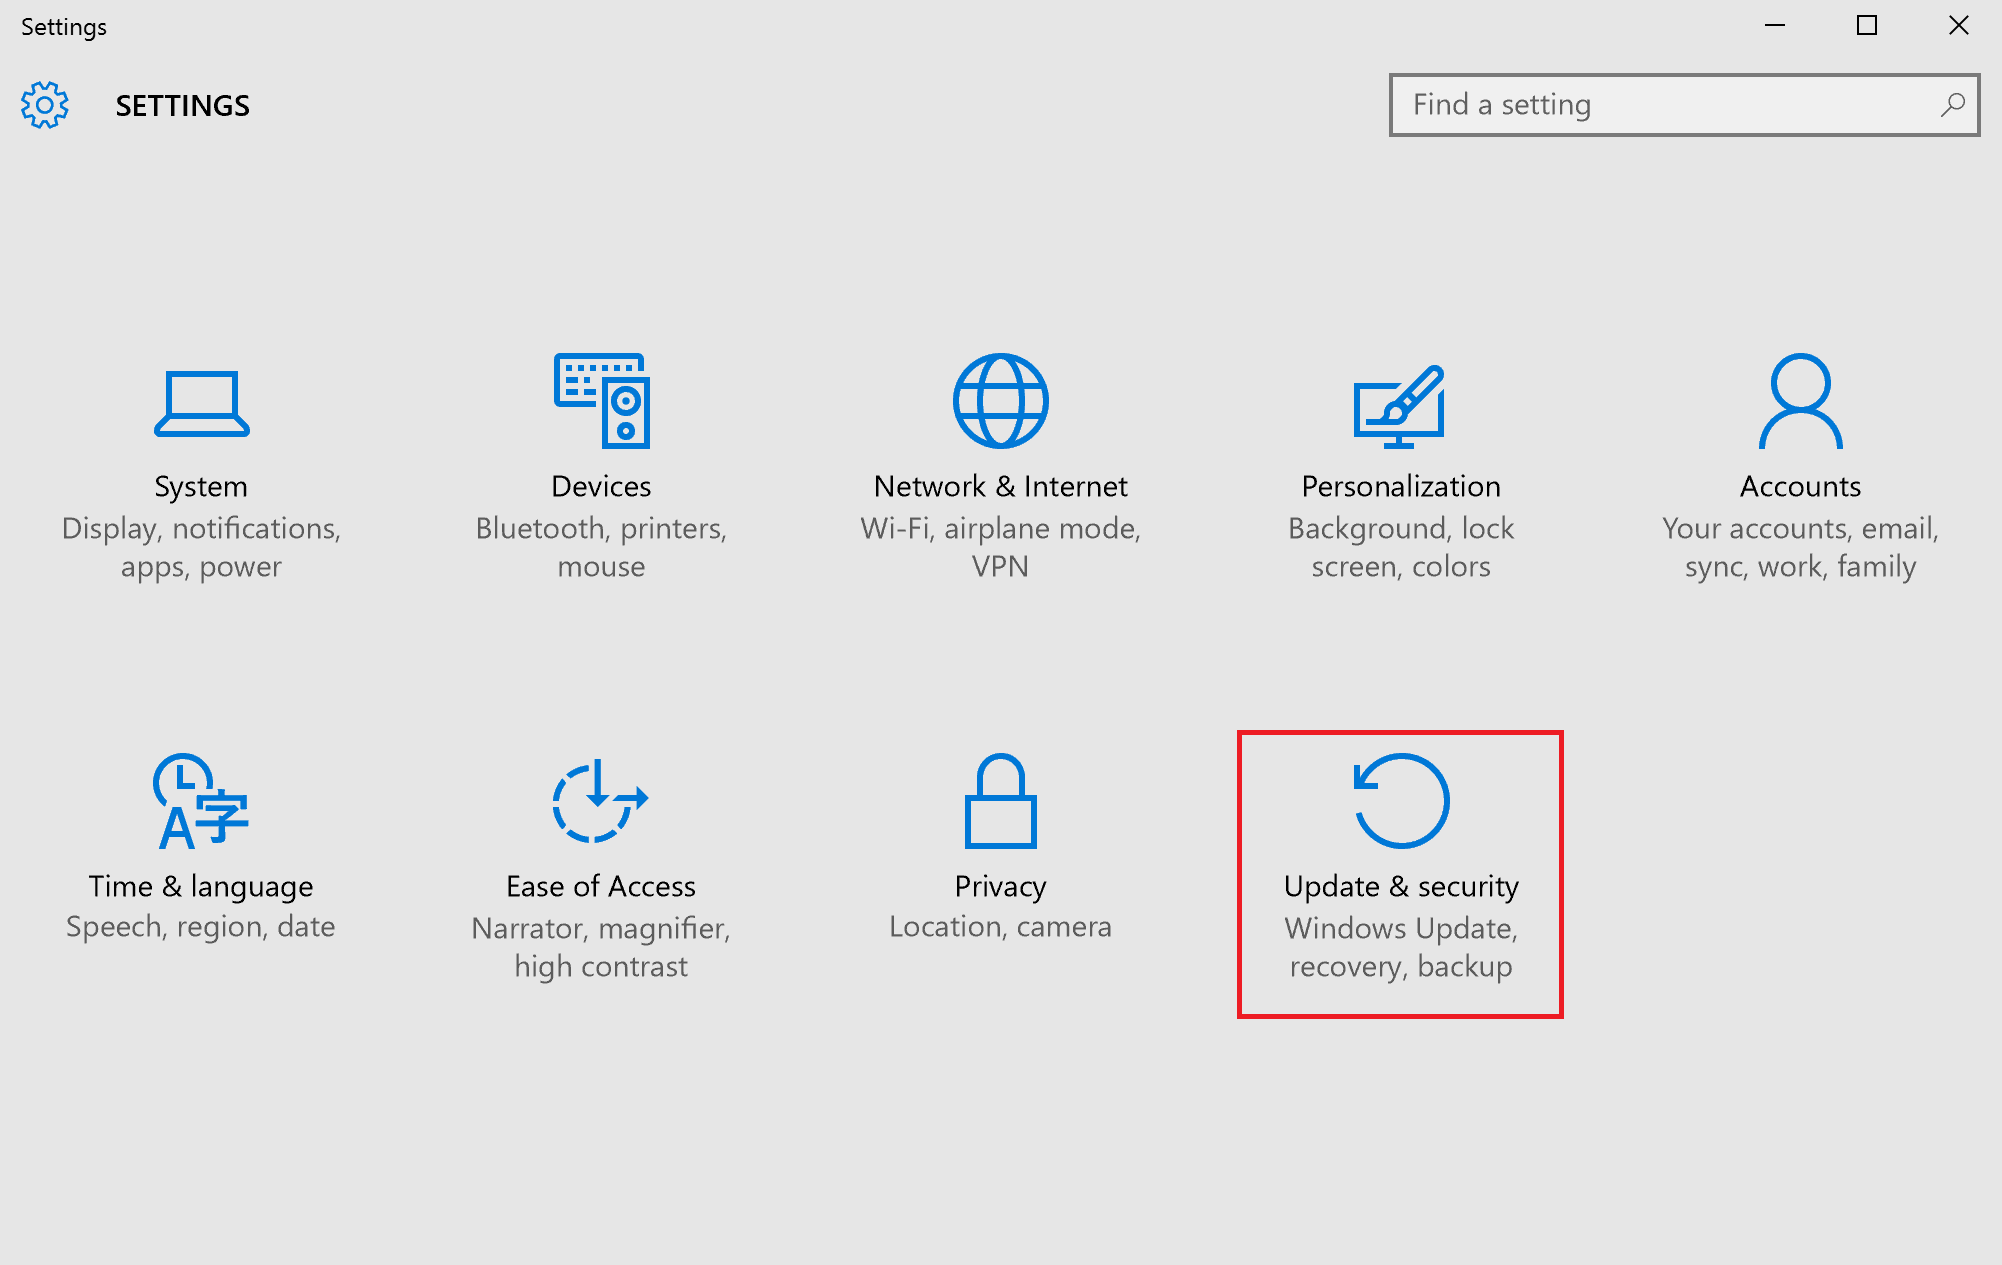
3. The “Settings” screen will appear, select [Update and Security].
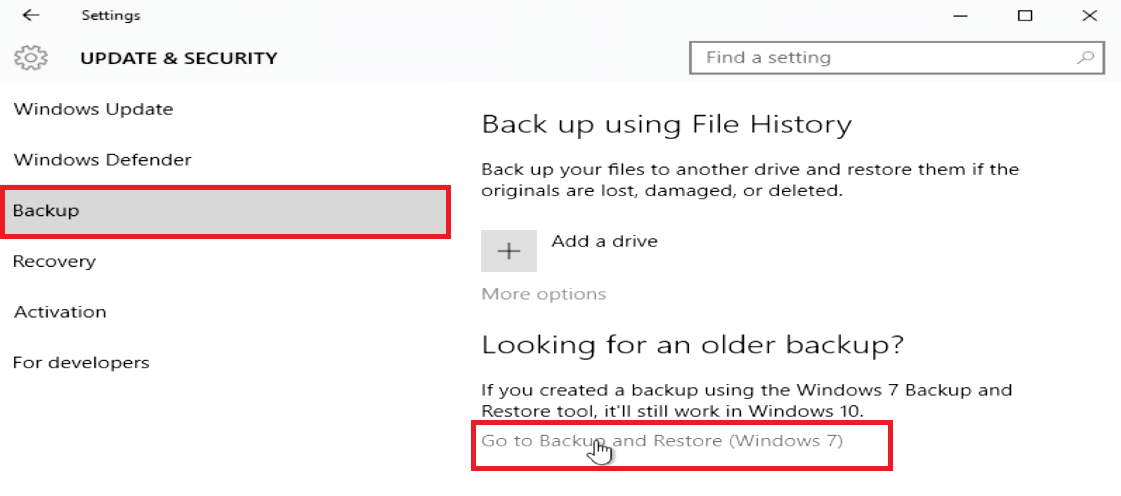
4. While the “Update and Security” screen is displayed, select the Backup tab and then select [Go to Backup and Restore (Windows 7)].
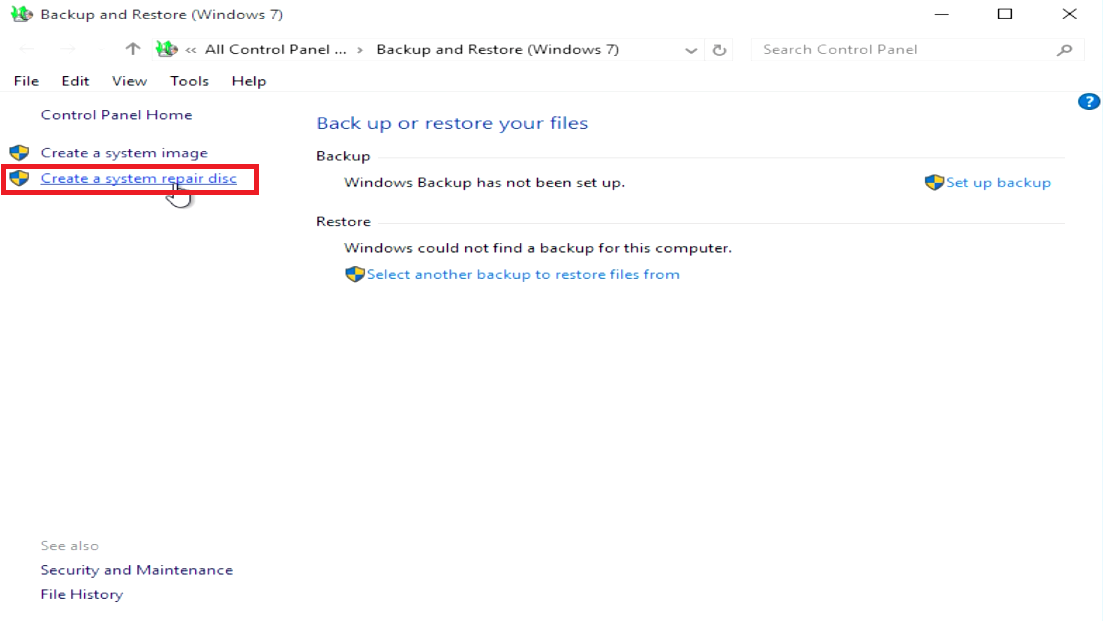
5. While the “Backup and Restore (Windows 7)” screen is displayed, after connecting your external disc drive for models that do not have a built in disc drive, click [Create a system repair disc].
6. While the ” Create Emergency Repair Disk” screen is displayed, insert the CD-R or DVD-R media of blank into the drive, please wait.
7. Once your inserted media has been recognized click [Create Disc] to proceed.

8. Your machine will begin to create the recovery disc, please wait for this process to finish.

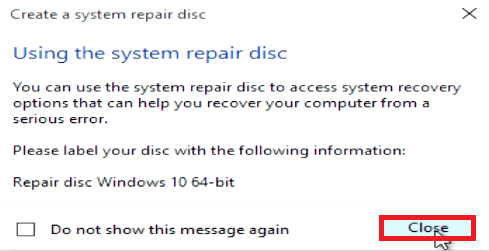
9. When the system repair disk is created a menu will ask you to “Please label your disc with the following information: Repair disc Windows 10 64bit” click [Close].
10. The next menu will say “system repair disk complete” please select the [OK].

This completes the operation above.
- How to create a recovery drive
If you do not have a built-in disk drive or if you do not have an external disk drive, you can create a recovery drive in the USB flash memory.
【please note】
As the data contained on the USB flash memory that you are using will be deleted, please back up everything in advance.
1. Enter [recovery drive] in the search field of the task bar.
![]()
2. While the item is displayed click [Create recovery drive].

3. While the “User Account Control” dialog box is displayed, click [Yes] to proceed.
4. “Create recovery drive” screen will be displayed un-check “Back up system files to the recovery drive” and then select [Next].

【please note】
If you put a check mark in “Back up system files to the recovery drive” you may not be able to recover successfully using that media.
5. While the USB flash drive connection screen is displayed, connect the USB flash memory.

6. Upon recognition of the USB flash memory, select the appropriate flash drive and click [Next].

7. A message stating that everything on the drive will be deleted will appear. Click [Create].

8. The creation of a recovery drive will begin, please wait.

9. After creation is complete, select [Finish].

This completes the operation above.
- How to use the system repair disk and recovery drive
To use the system repair disk and recovery drive, do the following procedure.
1. It will drop the computer power of.
2. Insert the system repair disk internal drive, or to an external drive I am connected to the USB terminal.
If the recovery drive, it is connected to the USB terminal.
3. [F3] or press the power button while holding down the [F4] button.
※ VJZ12A * Series, + side or the VOL (volume control) button – Press and hold the side, press the power button
4. Since [VAIO rescue mode screen is displayed and choose boot from the USB memory or disk.
5. [Press any key to boot form CD or DVD …] and when it is displayed, press any key.
6. While the choice of keyboard layout screen is displayed, select [Microsoft IME].
7. While the “Option Selection” screen is displayed I choose Troubleshoot.
8. While the “Troubleshoot” screen is displayed choose Advanced Options.
9. While the “Advanced Options” screen is displayed, select the item of troubleshooting that you want to run.
This completes the operation above.