[Windows 10] How to perform a System Restore
How to perform a System Restoration (Win 10)
Table of Contents
Prior Confirmation
Method of Operation
How to do a System Restore
If you can Start Windows
If you cannot Start Windows
Returning to the Most Recent State before Restoration
【Prior confirmation】
- If you use System Restore, without affecting the data file, to return the changes to the system to the original, you can modify the PC problems.
- After performing a System Restore, any drivers you installed will be erased, which may impact your ability to use some applications. Please note that you may need to re-install the driver applications.
- After performing a System Restore, some of the information on your hard drive will be lost, which can cause some lost data. Before restoring your system, please back up your important data. Please note: our company will not be responsible for any data that may be lost due to system restoration.
Method of Operation
How to do a System Restore
- If you can Start Windows
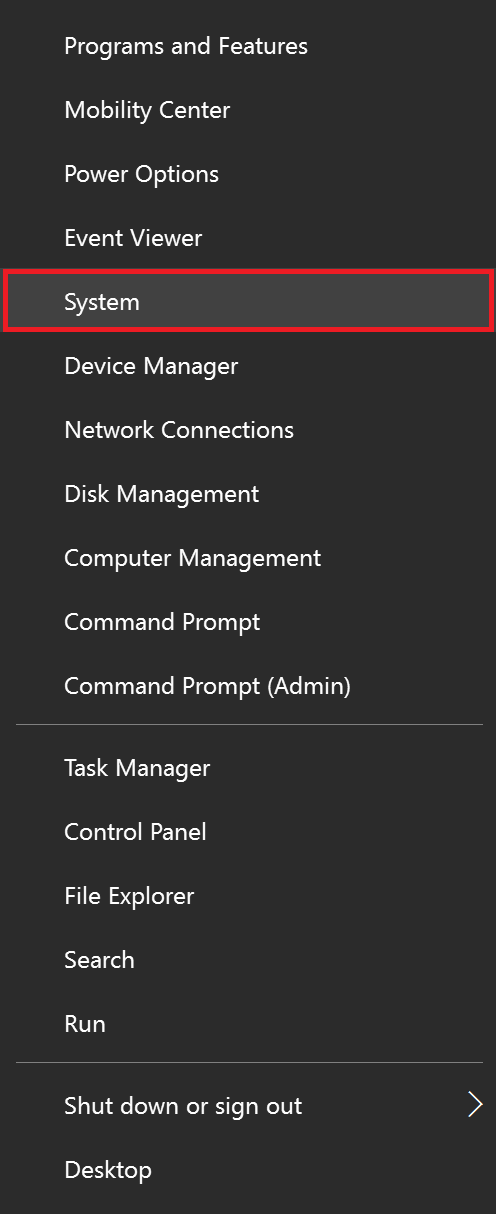
- Right click on the Start button.
- When the Quick Links menu is displayed, select System.
【Reference information】
The Disk Management screen can also be displayed using the following keyboard shortcut:
- Press the Windows key and the “X” key at the same time.
- When the Quick Links menu screen is displayed, select System.
No further work is required.
- When the System screen is displayed, select System Protection on the left side of the menu.

- Under the “System Protection” tab, select System Restore.

- When the System Restore screen is displayed, select the Next button.

- When the message “Restore your computer to the state it was in before the selected event.” Appears, please select any of the restore points and then select next.
- When performing a system restore using a system image that is stored on an external driver, please connect the device.

【Reference information】
- When you select the button “Scan for Affected Programs”, you will see a list of programs and drivers that will be deleted. Once deleted, these programs and drivers might not be able to operate correctly after the system restoration.
- Your system creates restore points automatically every week. Your computer will automatically create another restoration point when it detects any time you install a new program or update a driver.
- When the Confirm Your Restore Point screen appears, check the contents of your restoration point and select Finish.

- When the message “Once started, System Restore cannot be interrupted. Do you want to continue? ” is displayed, select Yes.

- After the system restoration has started, Windows will automatically restart.
- After the restart, once you reach the desktop a message stating “Restoring the system was successfully completed.” While this screen is displayed select Close.
This completes the operation above.
【Reference information】
If you perform a System Restore in Safe Mode, you will not be able to display the System Restore screen described above. Type “rstrui” in the search box, and then choose your restoration point.
- If you cannot start Windows
※ The screens that appear will depend on the computer model you are using.
- If the computer is turned on, please shut it down by pressing more the power button for 4 seconds.
- Restart the computer.
- When the VAIO logo appears on your screen, hold down the power button for more than 4 seconds to shut down the computer again.
- Repeat steps 2 and 3 three more times.
- Now restart your computer.
- When the message “Preparing Automatic Repair“, or “we are preparing the automatic repair” appears, please wait a moment.
- When the Auto Repair screen is displayed, select Advanced Options.
- When the Option Selection screen is displayed, choose Troubleshooting.

- When the Troubleshooting screen is displayed, select Advanced Options.

- When the Advanced Options screen is displayed, select System Restore.

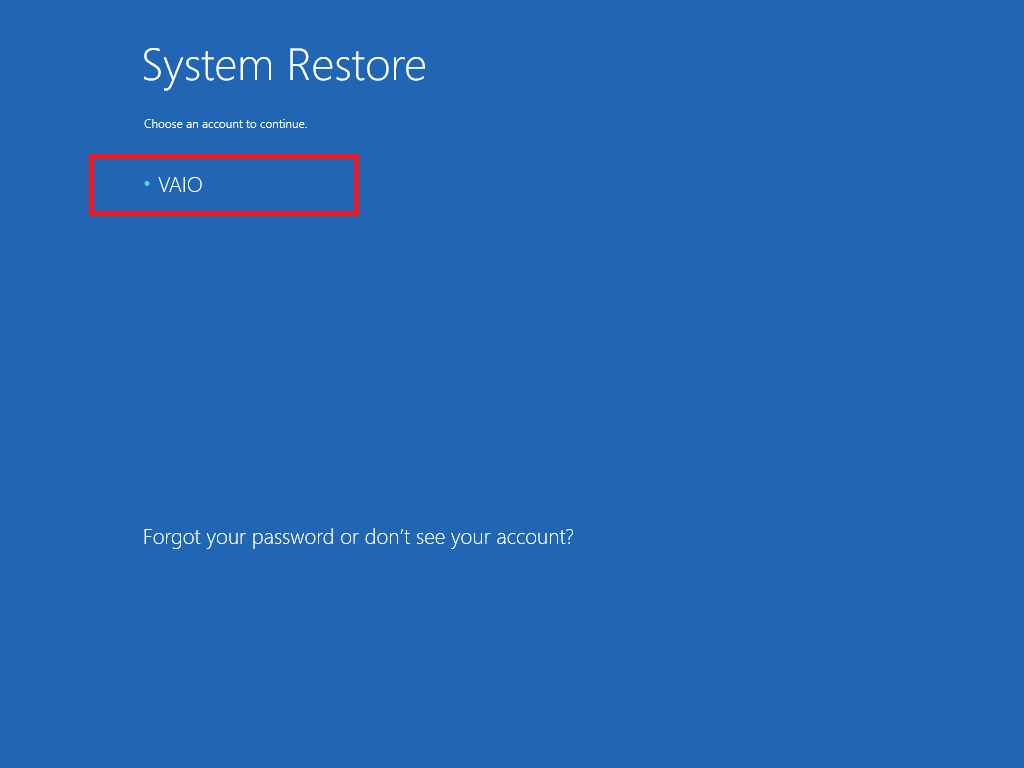
- When the screen to select the user account is displayed, select any user account.
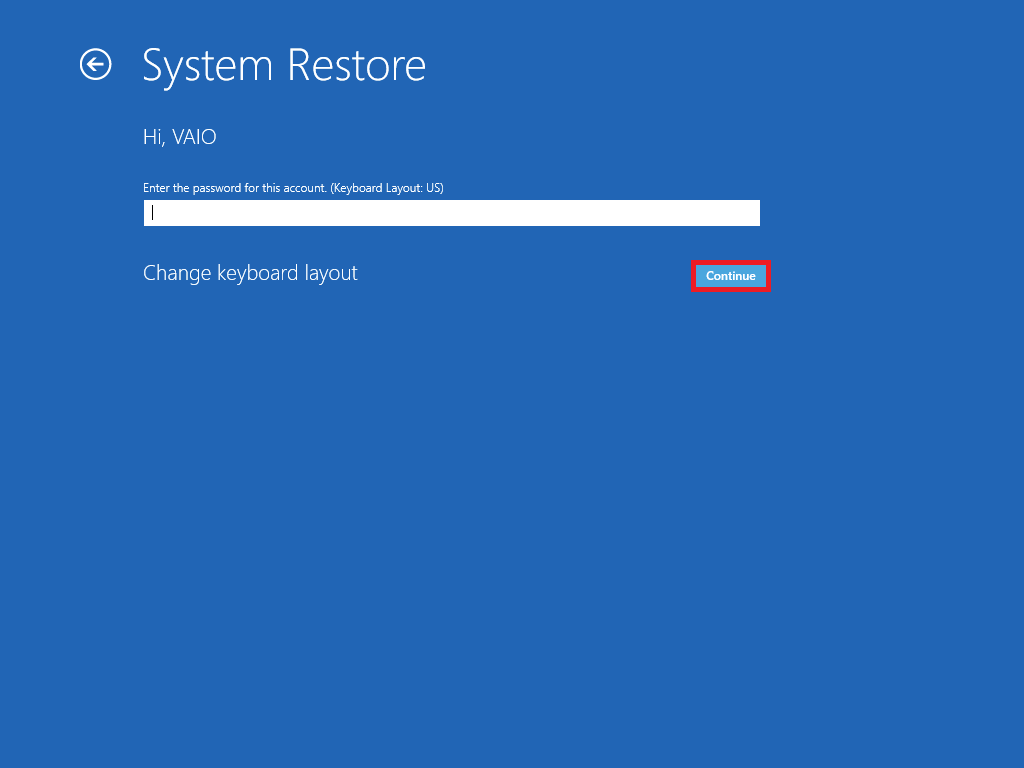
- Enter a password if you have set a password, and then select Continue.
- When you see the message “Please choose the desired operating system,” please select the operating system you are using.
- When the System Restore screen is displayed, select Next.
- When the message “To restore the computer to a previous state of the selected events,” is displayed, select any of the restore points and select Next.
- If you are using a system image that you have backed up on an external hard disk, please connect the equipment that stores.
- When you see the message “confirmation of the restore point“, verify the contents and then select Finish.
- When you see the message, “Once you start System Restore, you cannot be interrupted. Do you want to continue?” please select Yes.
- The system restoration will take a while. Please be patient.
- When the message “Restoring the system was successfully completed,” please select Restart.
- After the restart, once you reach the desktop a message stating “Restoring the system was successfully completed.” While this screen is displayed select Close.
This completes the operation above.
- Restoring to the Most Recent State before Restoration
If performing a System Restoration doesn’t resolve your issue, you can undo the system restoration and return your computer to the state it was in before you started the System Restoration.
- Right-click the Start button.
- When the Quick Links menu is displayed, select System.
【Reference information】
The Disk Management screen can also be displayed using the following keyboard shortcut:
- Press the Windows key and the “X” key at the same time.
- When the Quick Links menu screen is displayed, select System.
No further work is required.
- When the System screen is displayed, select System Protection on the left side of the menu.
- Under the System Protection tab, select System Restore.
- When the System Restore screen is displayed, check Undo System Restore and select the Next button.
- When the Confirm your restore point screen appears, check the content and select Finish.
- When the message “Once started, System Restore cannot be interrupted. Do you want to continue?” is displayed, select Yes.
- After the system restoration has started, Windows will automatically restart.
- After the restart, when you view the desktop screen “System Restore completed successfully.” Since the screen is displayed, and then select Close.
This completes the operation above.