[Windows 10] How to connect to Wi-Fi’s (wireless LAN) access point
[Windows 10] How to connect to Wi-Fi’s (wireless LAN) access point
Table of contents
Operation method
When connecting from list of Wi-Fi
When connecting to new wireless network, or network that is on non-display setting
【Reference】
- You can connect by selecting from list of nearby Wi-Fi access points, connect manually, or connect to access point that is on non-display setting. Please refer to the procedures that match with your usage environment.
- If you are using external Wi-Fi network adapter, make sure that all preparations such as installing connecting driver are completed, and perform operations once it is connected to PC securely and the Wi-Fi function is under a usable condition.
- If you are using Wi-Fi function embedded in the PC, make sure that the Wi-Fi function is turned on.
Please refer to the following Related Q&A for operation procedures.
▼Related Q&A:
[Windows 10]How to enable/disable Wi-Fi (Wireless LAN) function
Operation method
- When connecting from list of Wi-Fi
- Select [Network] icon in the notification area.

- List of wireless network SSID found near the PC will be displayed, so choose the connecting access point. If you want to connect to the connecting access point automatically, check [Connect automatically] and select [Connect].

- If security key is needed, it will show “Enter network security key”, so enter the security key, and select [Next] button.
- For security key (code key), enter the same set point as the access point you are using.
- If you don’t know the set point of the access point you are using, either refer to the product’s manual, or contact the product distributor.

- It will show “Do you want to have this PC detectable from other PC and device on this network?”, so select either of the following.
- No
Select this if you are not turning on the share to the connecting network (ex: network at public place). - Yes
Select this if you are turning on the share to the connecting network (ex: home network, company network).
- No

- It will show that it is “already connected” to the access point it is currently connected to.
All operations are now complete.
- When connecting to new wireless network, or network that is on non-display setting
- Click the [Start] button.
- On the Start menu select [Setting].

- While the “Setting” screen is displayed, select [Network and internet].
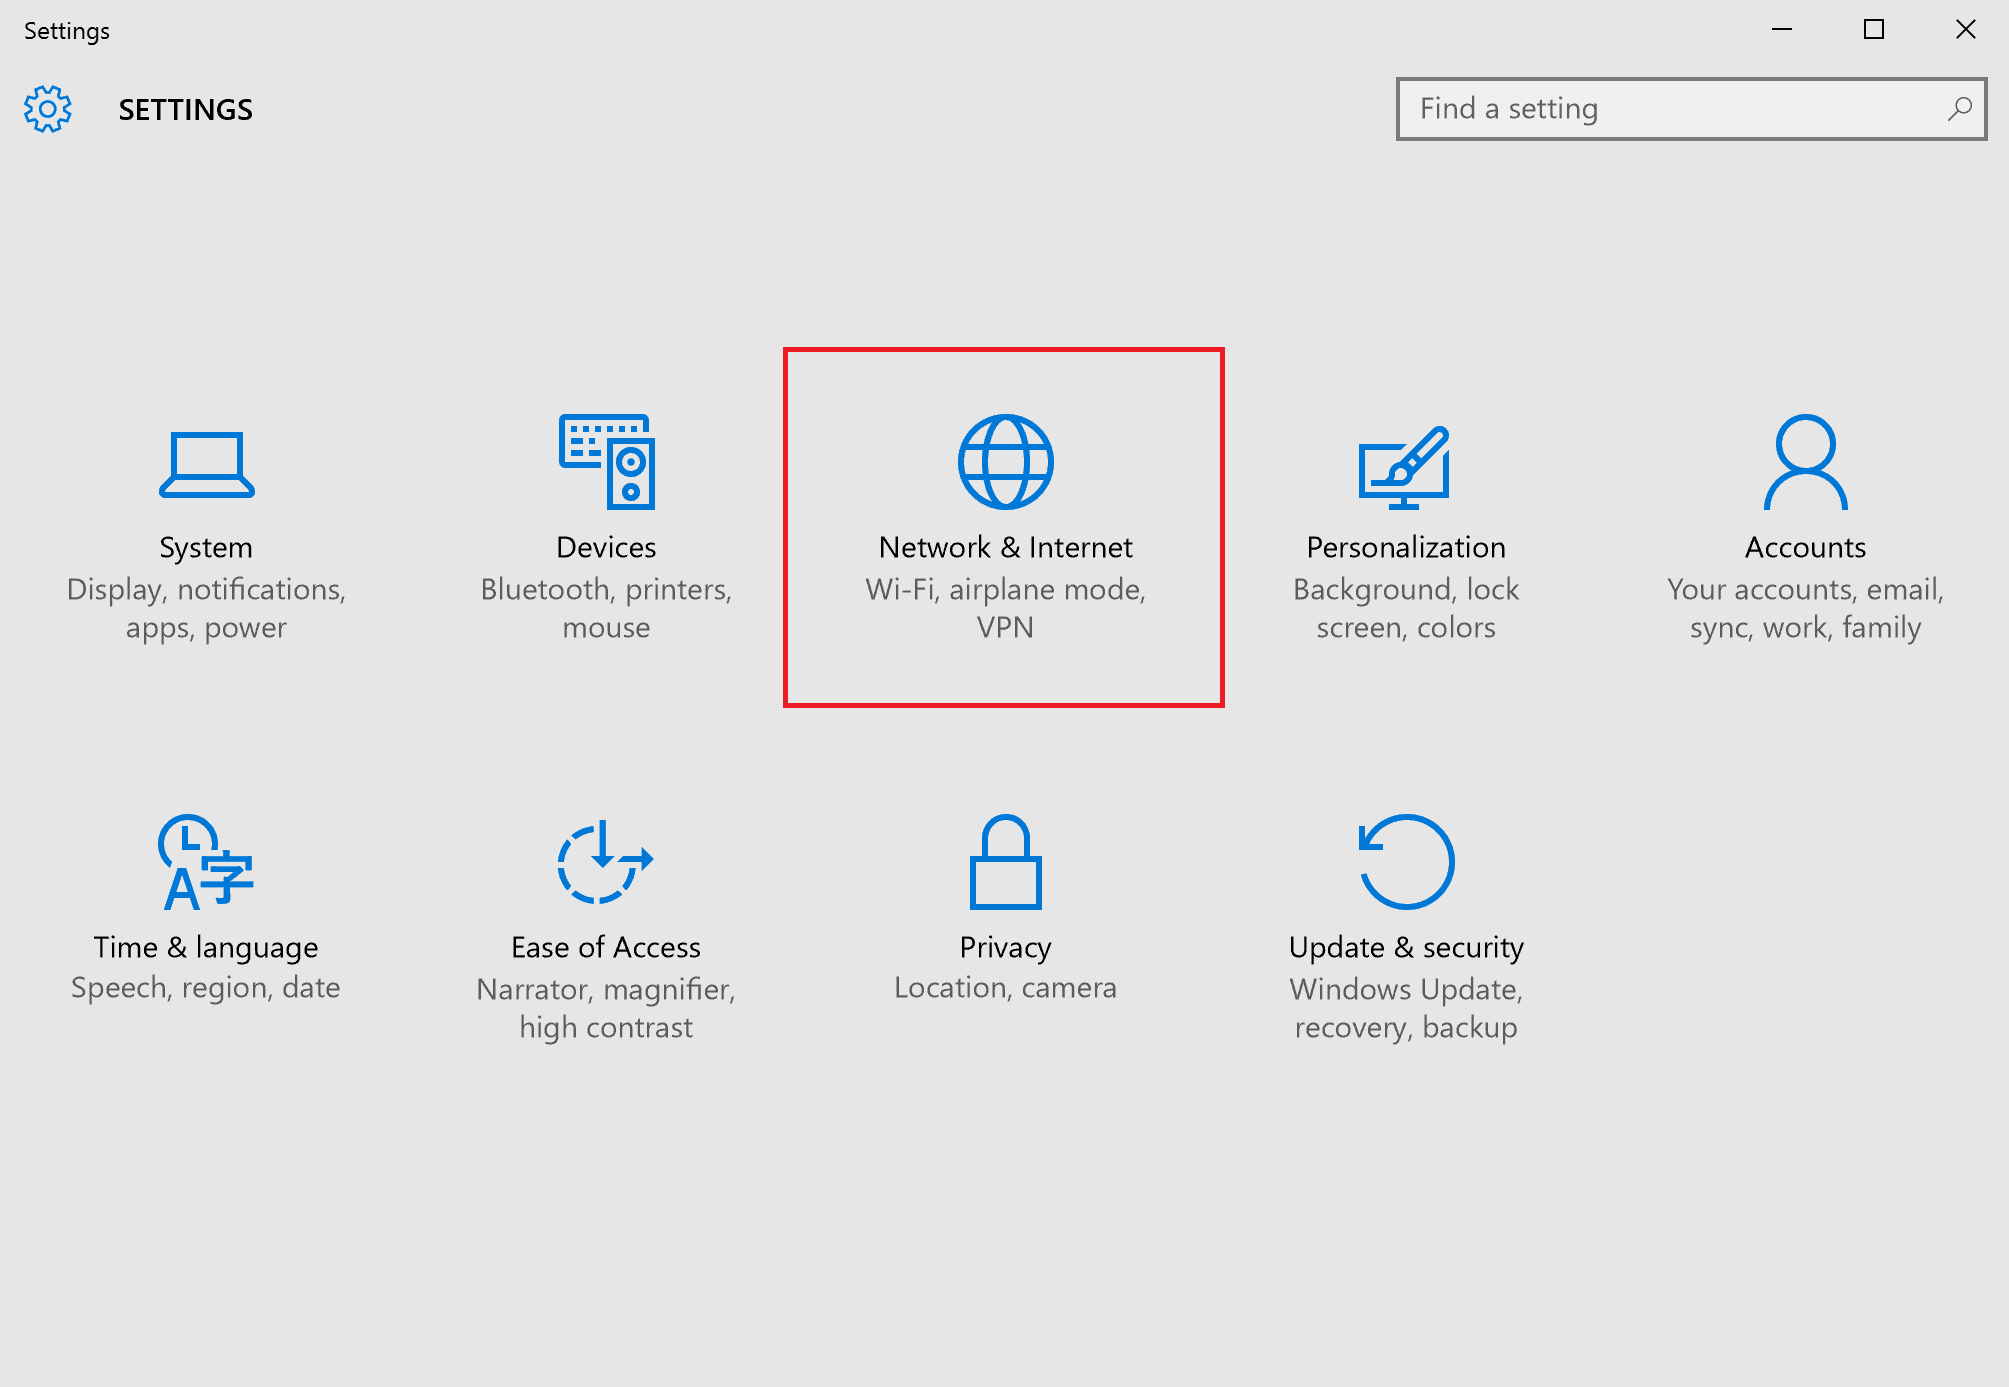
- While the “Network and internet” screen is displayed, select the [Wi-Fi] tab and scroll down on right side, and select [Network and share center].

- “Network and share center” screen will be displayed, so select [Setup new connection or network].

- The “Setup connection or network” screen will be displayed, select [Manually connect to wireless network], and select [Next].

- It will show “Manually connect to wireless network”, so enter info according to the network environment for [Network name], [Type of security], [Type of encryption], and [Security key].
Check [Automatically start this connection] and [Connect even when network has not performed broadcast], and select [Next] button.- For security key (code key), enter the same set point as the access point you are using.
- If you don’t know the set point of the access point you are using, either refer to the product’s manual, or contact the product distributor.

【Precautions】
- If [Connect even when network has not performed broadcast] is not checked, you cannot connect if access point is under stealth mode.
Also, network that is under non-display setting may be displayed as “Unpublicized network” within the list of wireless network connection. - If [Automatically start this connection] is not checked, you will have to reconnect manually after restarting or coming back from sleep mode.
- It will show “(Network name) has been successfully added”, so select [Close] button.

All operations are now complete.