[VAIO_PC] for automatic maintenance feature
[VAIO_PC] for automatic maintenance feature
Applicable models
Windows 10
Table of contents
Description
Manual how to run the automatic maintenance
Automatic maintenance of how to stop
How to change the automatic maintenance of schedule
Description
Within Windows10 there is a feature that performs routine maintenance when you are not using your PC.
This feature updates software, runs security scans, and additional functions to keep the PC in its optimal running state.
If the automatic maintenance cannot be performed at the set time it waits for a time when the PC is not in use and then automatically runs.
Please note that during maintenance tasks may take longer to complete as there will be additional processes running on the CPU.
The Fan may also increase in rotational speed to accommodate for the increased processor load.
To avoid working on your PC during the time allotted for maintenance, you may adjust your maintenance schedule accordingly.
In order to maintain the PC in its ideal condition run auto-maintenance at least once a week.
How to run automatic maintenance manually
If you want to run the automatic maintenance manually, you may do so using the following procedure.
※ The image that is displayed depends on the use environment.
1. It will open the Control Panel.
▼ related Q & A: [Windows 10] “Settings” and how to display the “Control Panel” screen
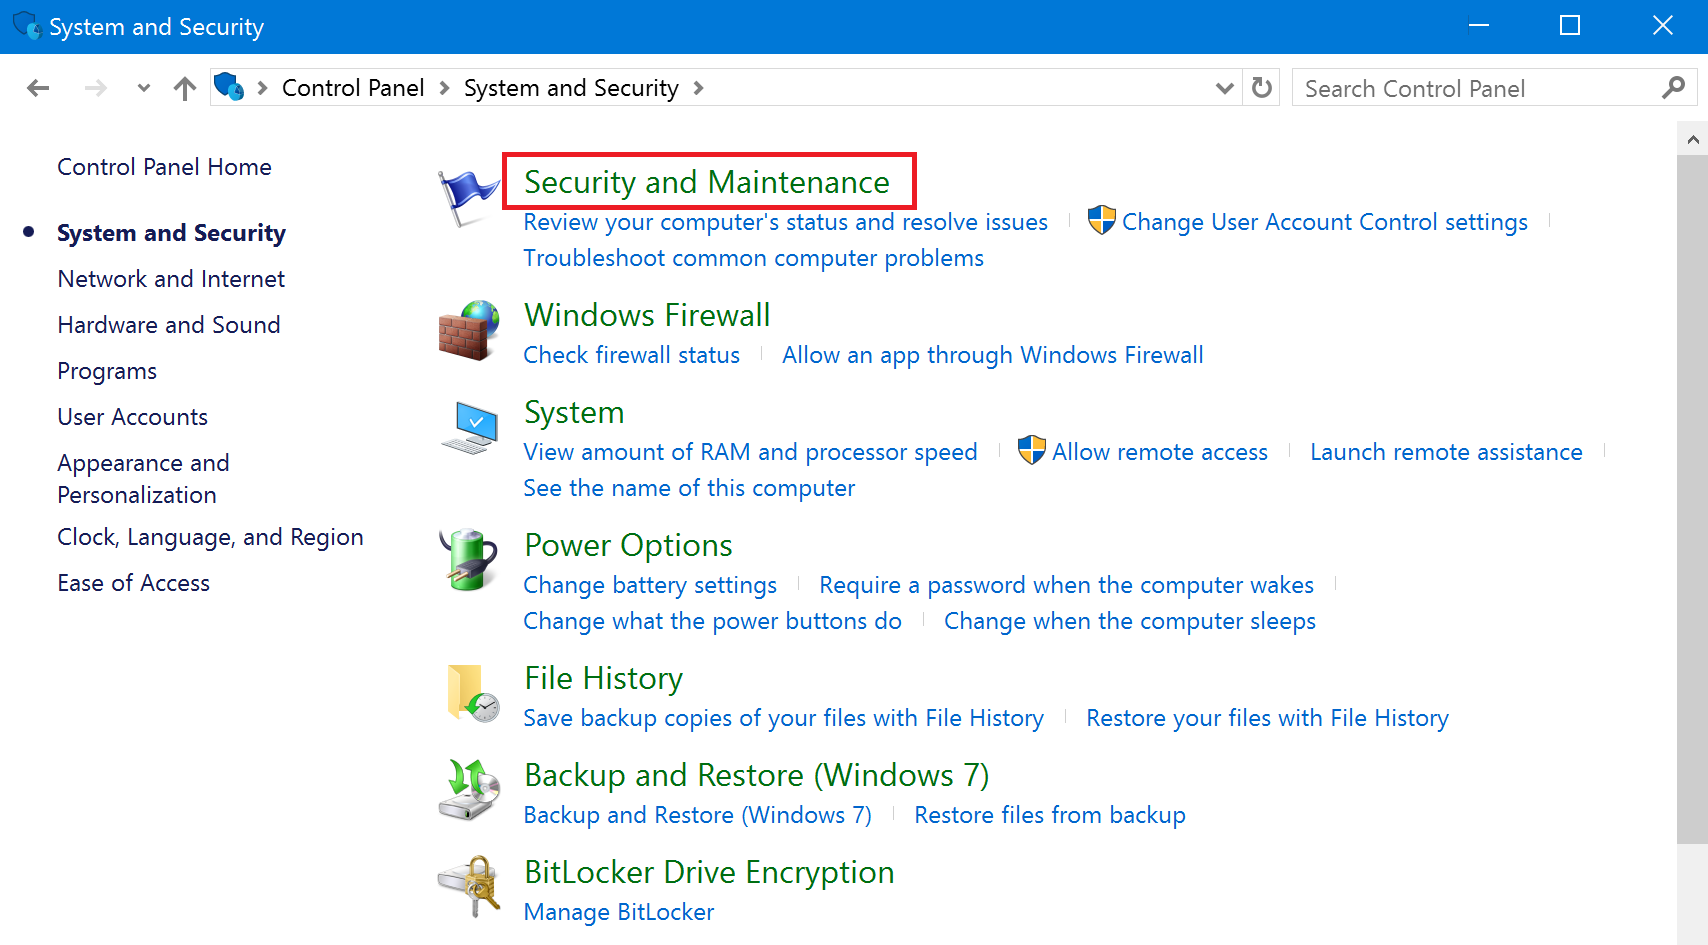
2. Click “System and Security”.

3. Click “Security and Maintenance”.
4. Select “Maintenance”.

5. Click “Start Maintenance” listed under Automatic Maintenance.

This completes the operation above.
How to stop Automatic Maintenance
If you want to stop automatic maintenance from running, you can do so by following this procedure.
※ The image that is displayed depends on the use environment
1. Access the Control Panel.
▼ related Q & A: [Windows 10] “Settings” and how to display the “Control Panel” screen
2. Click “System and Security”.
3. Click “Security and Maintenance”.
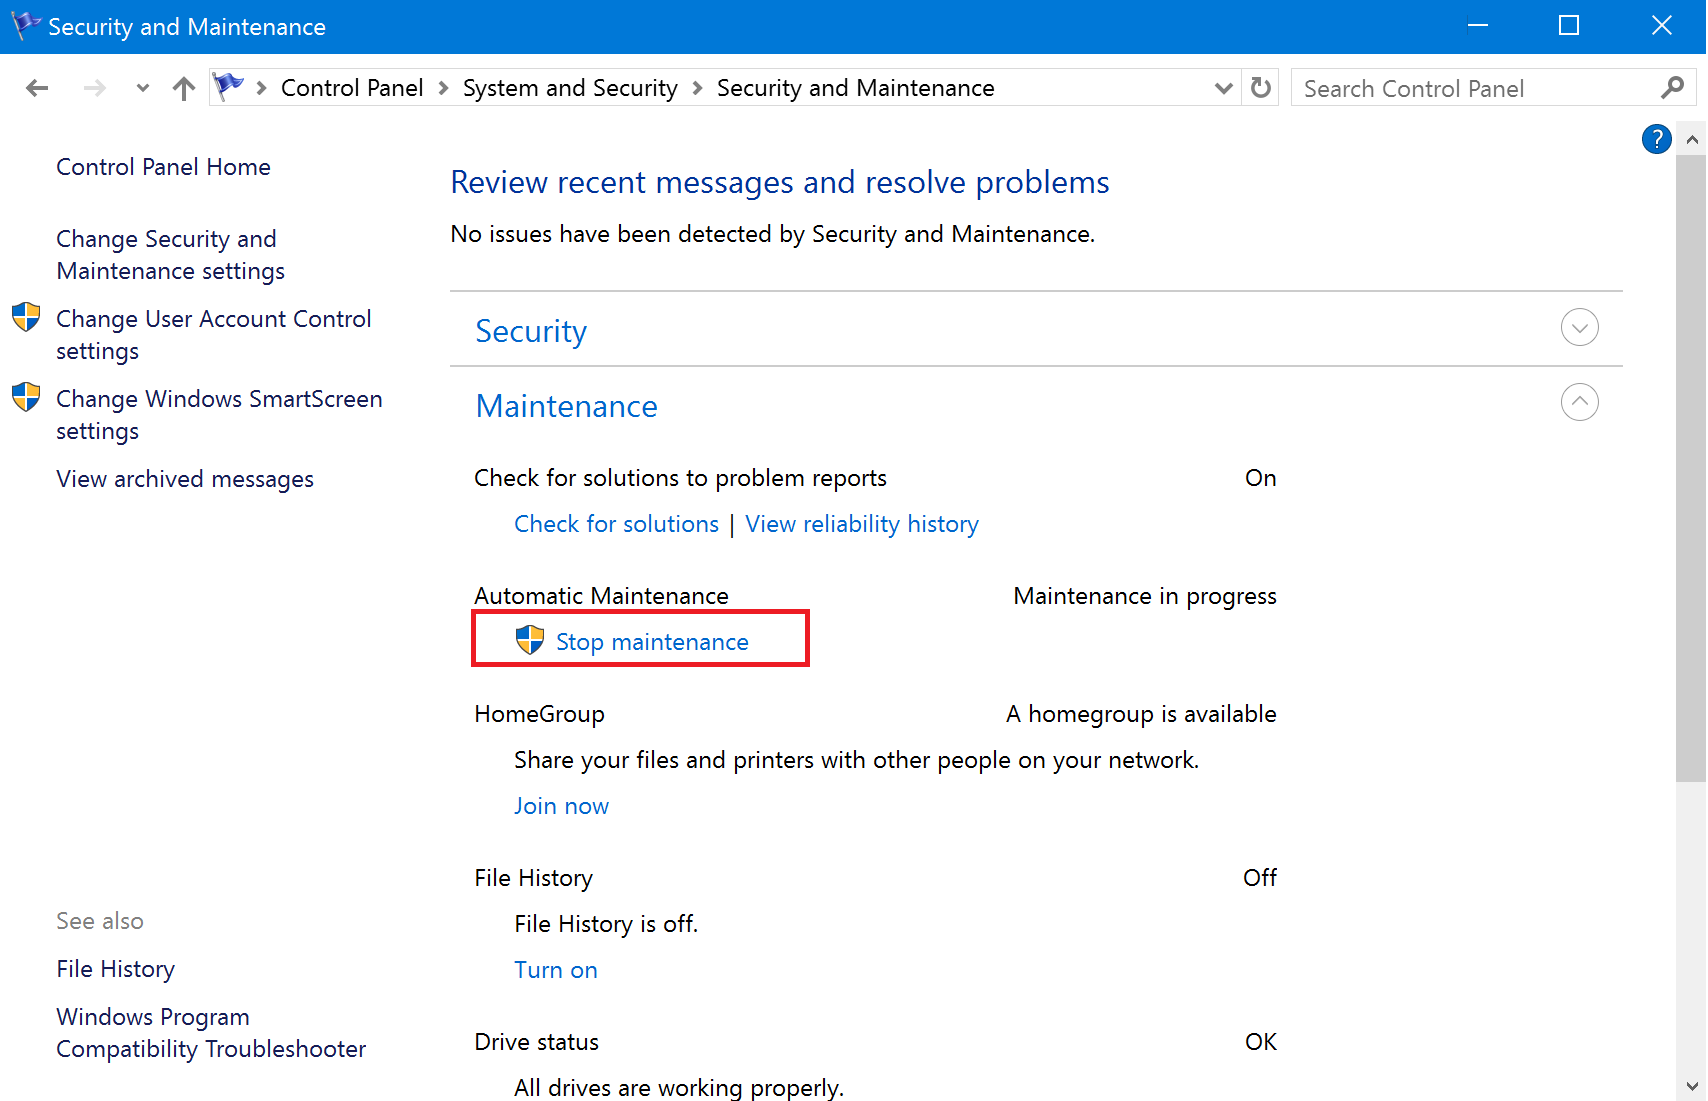
4. Select “Maintenance”.
5. Click “Stop Maintenance”.
【please note】
- Depending on the execution status of maintenance, it may take some time until it is stopped. Please wait without doing anything as it is.
This completes the operation above.
How to change the automatic maintenance of schedule
If you want to change the automatic maintenance schedule, you may do so by following this procedure.
※ The image that is displayed depends on the use environment.
1. Access the Control Panel.
▼ related Q & A: [Windows 10] “Settings” and how to display the “Control Panel” screen
2. Click “System and Security”.
3.Click “Security and Maintenance”.
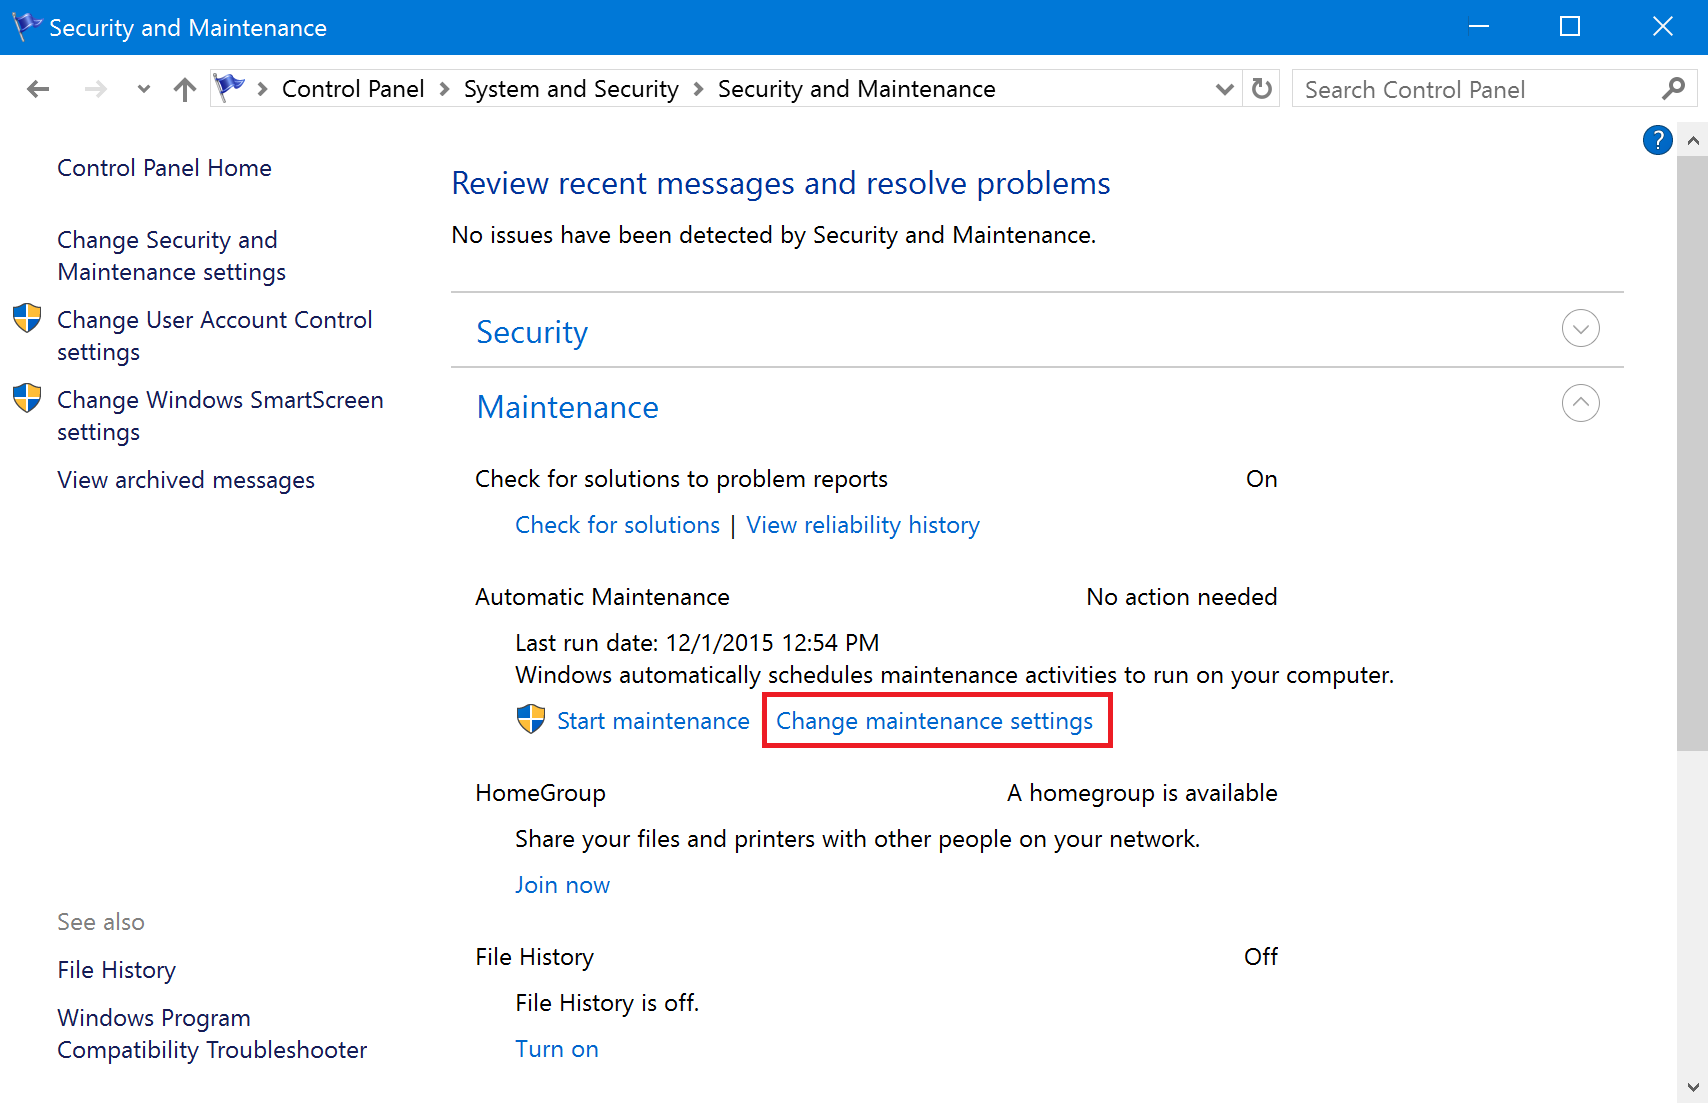
4. Select “Maintenance”.
5. Click “Change maintenance settings” listed under Automatic Maintenance”.
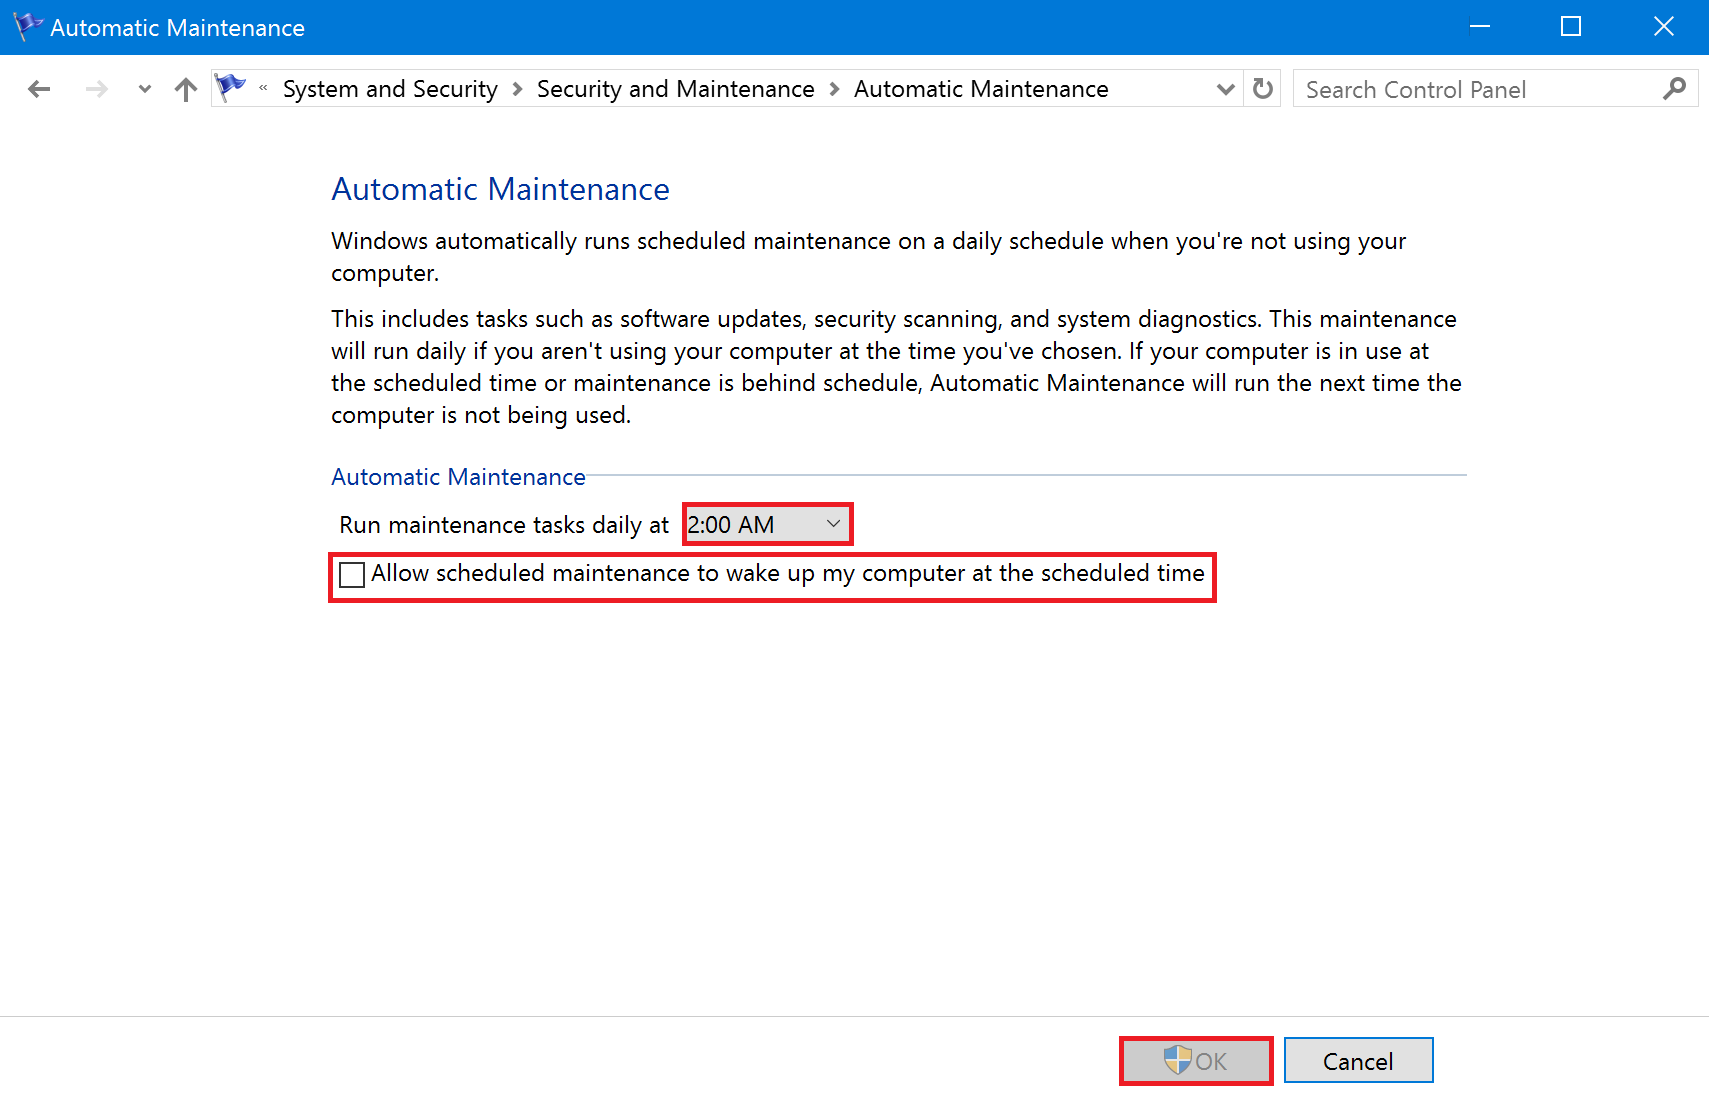
6. While the setting screen is displayed, select the “Run maintenance tasks daily” and set it to an arbitrary time and click [OK].
【Reference information】
If you have checked the box “Allow scheduled maintenance to wake up my computer at the scheduled time” your PC will automatically turn itself on and run maintenance. Please uncheck the box if you would prefer the PC to not turn itself on and run maintenance.
This completes the operation above.